Stenciling is a process that provides an image and a pattern that applies pigment to a particular surface through the use of the intermediate object, which features a design that creates a pattern and image by allowing only some pigments to get to some parts of the surface. A stencil is a result of an image, pattern, and intermediate object. The stencil makes clear the intended meaning. You might be wondering how to make an airbrush stencil, but here is a helpful guide to take you through the entire process. Airbrushing is an outstanding type of art, allowing artists to do virtually any painting without the need for a brush. The artists use it to come up with designs. Once you get an image, an airbrush is a suitable option to get the work done. You will need a stencil, paper, and a piece of thick fabric. You can apply frisket to your images and cut them using a utility knife. You can airbrush your items and lift away the stencil. Here are a few tips on how to go about it.
In airbrushing, stencils are used in creative and fun ways. For example, during face painting or body painting or murals, or airbrushing a particular vehicle design. Stencils also have a wide application in decorating cakes. Creating stencils Trusted Source Stencil - Wikipedia Stencilling produces an image or pattern by applying pigment to a surface under an intermediate object with designed gaps in it which create the pattern or image by only allowing the pigment to reach some parts of the surface. The stencil is both the resulting image or pattern and the intermediate object; the context in which stencil is used makes clear which meaning is intended. In practice, the (object) stencil is usually a thin sheet of material, such as paper, plastic, wood or metal, with letters or a design cut from it, used to produce the letters or design on an underlying surface by applying pigment through the cut-out holes in the material. en.wikipedia.org for airbrushing is a creative outlet yet very rewarding process.
It is great quality stencils that make designs that bring ideas to life. If you have never created a stencil, you will need to start with a stencil film. The stencil film is easy to clean; flexible can bear wear and tear. Stencil films such as frisket film come with adhesive back. Thus you won’t need to use masking tape. Mylar is one of the excellent materials to start off with creating stencils.
You should rest the cutting material nicely to avoid making messy cuts. 4 or 6 mils will offer great thicknesses for the stencil film. You will also need a cutting mat that will put on your table or the surface you are working on. You can find a cutting mat from the stores that sell supplies near you.
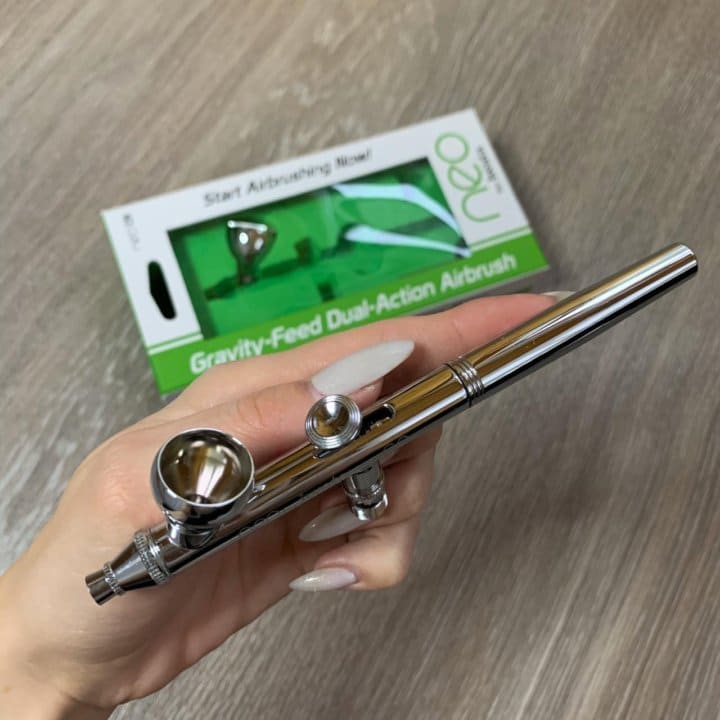
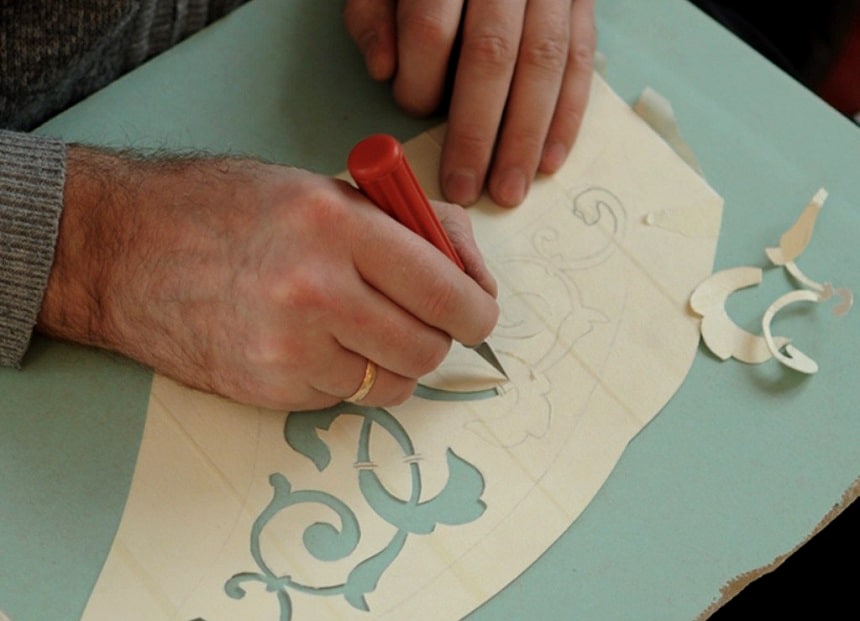
Next, you will need to take the Exacto knife and cut the design of the stencil film. You will need masking tape, a pencil, and markers. Once you have them, you are good to get your design ready. You can also incorporate amazing Airbrushes models to help you with your precise patterns.
You can find inspiration for your design once you do your google search and get many free images. You can choose a simple or complex design as you desire it. If you fancy drawing or have your plans, you may not need to do a google search to get the templates. That is where you direly need your pencils and marker pens. Once you get the design, it is advisable to cut the design’s edges before the project starts. It would be best if you left enough edge to work with later on. You are now good to go. However, you must not forget to get yourself Top Airbrush Kits for Both Beginners and Experienced Crafters to enable you to pursue various tasks.
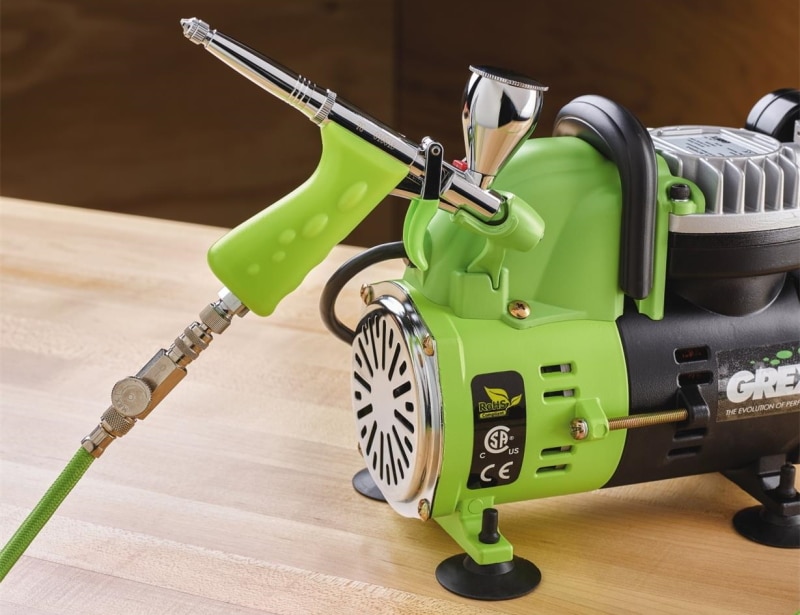
According to most reviews, the sturdiest model must be the Badger Air-Brush from the Badger airbrush company. Thanks to its reinforced construction that makes it the most reliable option out there.
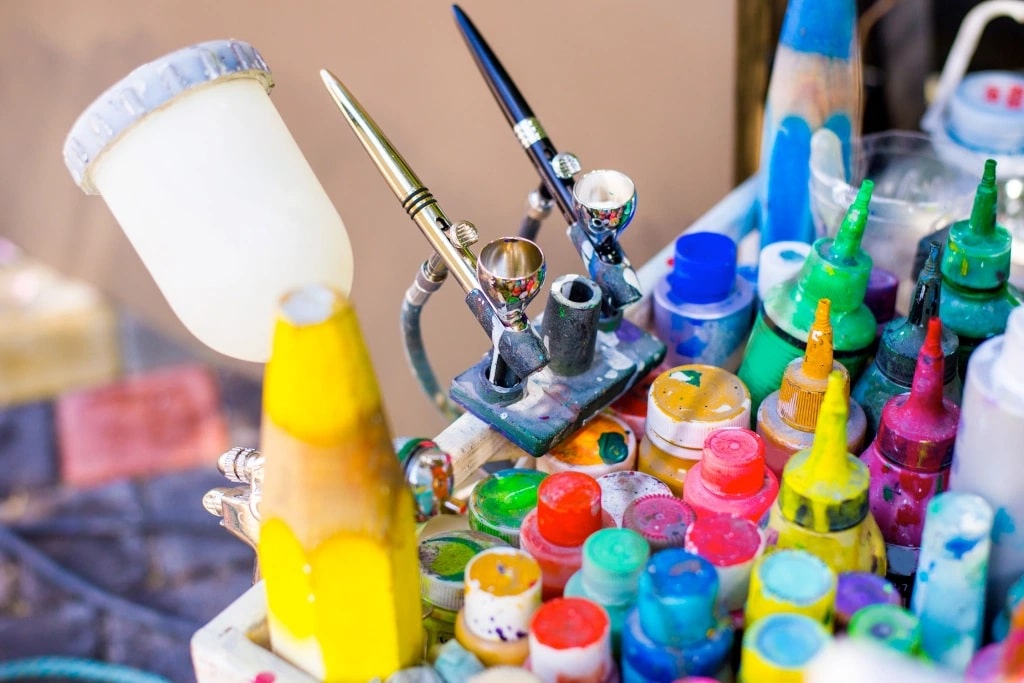
The fancy part about airbrushing is that you can use so many fantastic ways to go about completing your piece of artwork. You can opt to use unusual templates together with stencil-like fabrics or metal mesh. You will also need the best airbrush paints to get the most realistic looks for your projects.
The most popular material for a stencil is mylar since it is flexible, easy to clean, and durable. Mil mylar is preferable due to its thickness and flexibility, and versatility. However, there are other avoidable options, including adhesive-backed mylar. Stencils are usually cut from thin materials, including plastic sheets, cardboard, and other popular metal options. You can also use paper, but it is easily torn after using it several times. The best option for making stencils is by hand. Thus, this article will offer you useful insights on how to make airbrush stencil easily. According to most reviews on how to make an airbrush stencil, the Flower Stencil Rose Sunflower Stencil from zonon brands is an interesting option to try.