Going through the process of changing the filament of a 3D printer is always perceived to be annoying, but it can be fun. For a number of reasons, you will understand that the process does not have to be tedious and time-consuming. Many people find it hard to change the filament of a 3D printer which is a very vital part of the printing process. This article will guide you on how to change filament in Ender 3 correctly. When changing the filament, many things might happen, including the filament getting stuck, which might compel you to use force to pull it, making it difficult to change the filament once you do away with the old one. You might end up experiencing a bad print after doing the replacement. If you have been having trouble trying to change the filament, you will find this guide helpful in providing answers to questions you may have.
If you want to know how to go about changing the filament for your ender three or v2 or the pro, then read on to get the fastest, smartest, and quickest way Trusted Source 3D printing filament - Wikipedia 3D printing filament is the thermoplastic feedstock for fused deposition modeling 3D printers. There are many types of filament available with different properties, requiring different temperatures to print.[1] Filament is commonly available in the two standard diameters of 1.75 mm and 2.85 mm.[2] 2.85 mm filament is sometimes erronously referred to as “3 mm”, but should not be confused with the less common filament size that actually measures 3 mm in diameter. en.wikipedia.org to go about it.
First, you will need to look for a credible company to get the 3D printers from. Look for customizable 3D printers that suit your budget. Besides, you will need to get the original ender three since it determines the success. Look for a version of ender 3 of the original printer to guide you on what to buy.
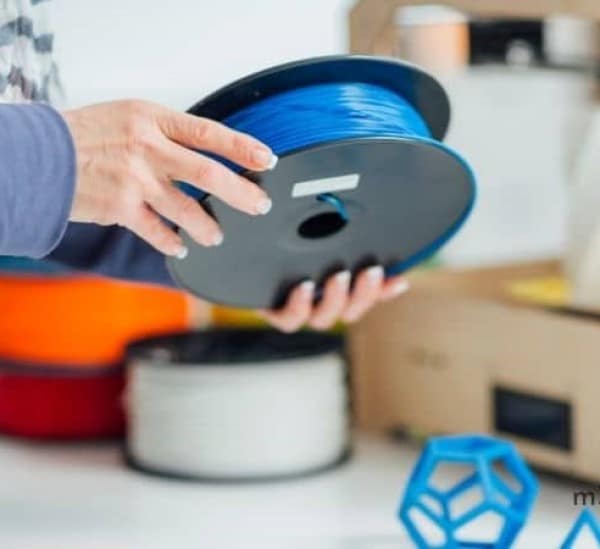
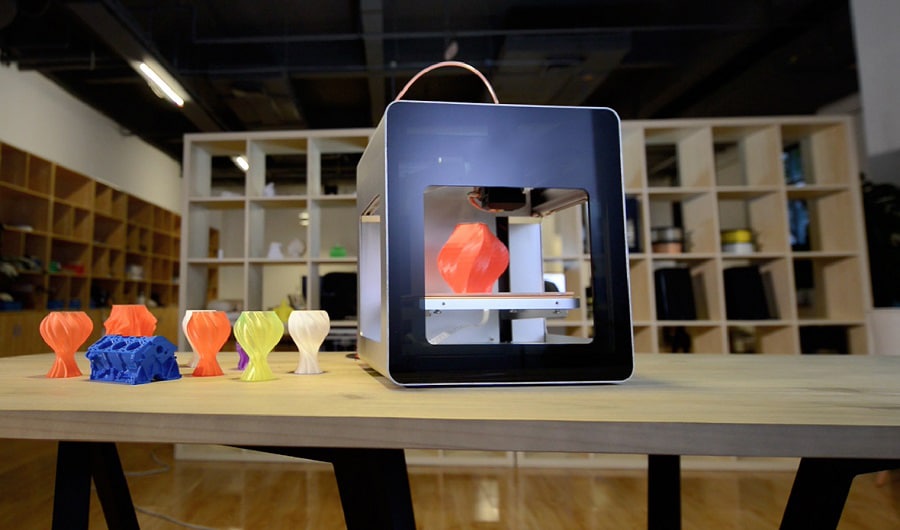
Once you venture into the 3D printing business, you will want to get a new filament in addition to the best new 3D printers for beginners to help you in your new undertaking. Even though the spool can last for long, you will, in some instances, want to change the colors to achieve better results with varying prints. You will also need the best 3D printers to do the task.
Irrespective of whether you want just a simple change of filament or the entire materials, the process of changing under 3 is pretty simple. Here, we look at few easy steps to change the filament in an easy and fast manner. You will be able to go through the three easy steps and get the next color you want in no time. There are varying kinds of ender 3. You will know the specific instructions that match a particular version. Even though the process doesn’t vary much, the wheel on the v2 is on the necessary upgrade.
First, you will need to do away with the old filament and load the current one. To achieve that, you will need to heat the nozzles until they attain the melting temperature and the particular type of filament you are using. Suppose you are not particular about the temperature. In that case, you can check for the recommended temperature range on the side of the spool or the manufactures website and be certain of the correct temperature.
1. Set it at the right temperature, ensure your printer is on, and press on the control knob to show up the menu.
2. Navigate through the settings, the temperature until you get to the nozzle.
3. Using the LCD screen to adjust the temperature upwards.
4. It would be best if you waited for the hot end to attain the desired temperature.
5. Press the exclude lever to release the grip on the filament, then withdraw it and remove the spool. In case you have ender three or are using an extruder, know you should move the knob clockwise to remove the filament.
The hot end is now ready to receive a different filament. It is always advisable that if your filament allows it, loop the end of the filament into one of the holes at the spool’s edge to ensure it is always in place for storage. According to most reviews, the sturdiest model must be the Official Creality Ender 3 3D Printer from Comgrow brands. Thanks to its reinforced construction, which makes it the most reliable option out there.
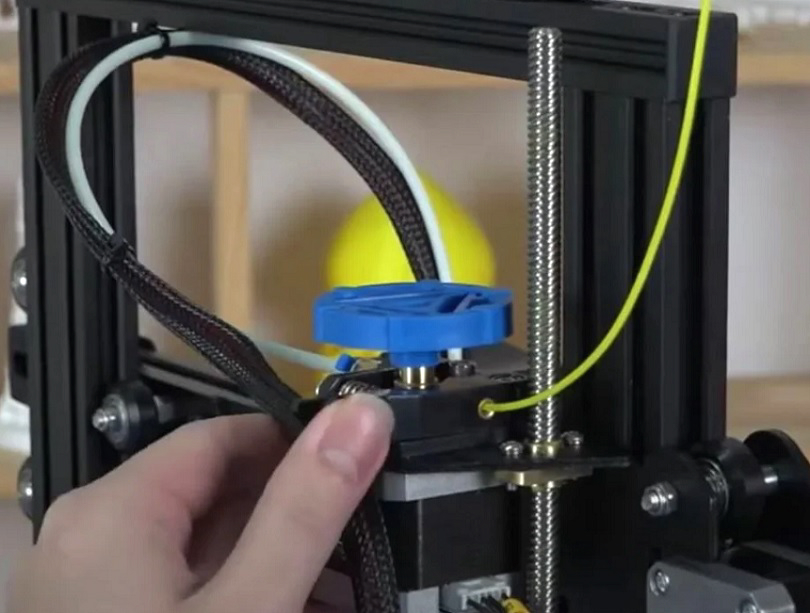
With a free extruder, it is time to fix the filament you feel will serve your purpose. Here are a few steps on how to go about it:
At this point, your filament is at the nozzle, and it is time to feed it through. Before you start working with the new filament, you will need to purge the old one from the nozzle. That ensures that the old filament moves from the hot end, and you will only be using the new filament for printing.
If you switch from high temperatures to lower temperatures material, you will need to set the nozzle temperature at a higher value until the purging gets complete.
The ender three printers usually have some features in their software that enable you to purge the old filament, and thus the process is fast.
1. Press on the LCD screen to open the settings and scroll to move the axis.
2. Using the scroll, move the extruder axis 15 to 20 mm. The scroll starts feeding material through the nozzle, and it purges the old filament and provides it to the new filament.
3. You will need to repeat that more than once to be certain all of the old filament is out of the new filament.
If you see a new color or the material flow out of the nozzle, know the new nozzle is purged. That is it; you are now done with filament ender three replacement and ready to start with your new project or move on with what you have been working on. Ensure the settings are correct for the new filament. Besides, you should not forget to get an amazing 3D printer to make your printing experience better.
The majority of the people find it hard changing the filament on the 3d printer, which is vital when doing 3D printing. According to most reviews, the sturdiest model must be the Creality Ender 3 3D Printer from MKK brands. Thanks to its reinforced construction. It is the most reliable option out there. Many issues occur when changing the filament, including the filament getting stuck, which may need some force to remove the old one or have a bad print after the replacement. If you have been having any challenges, this article is helpful to anyone who wants to know how to change filament ender three comfortably and correctly. The guide will help you change the filament and get answers to questions you might be having. It contains instructions that make the changing process of filament with ender three much easy for you. Besides, you will get tips and experiences from previous users on how to go about the process. It needn’t be tiresome.