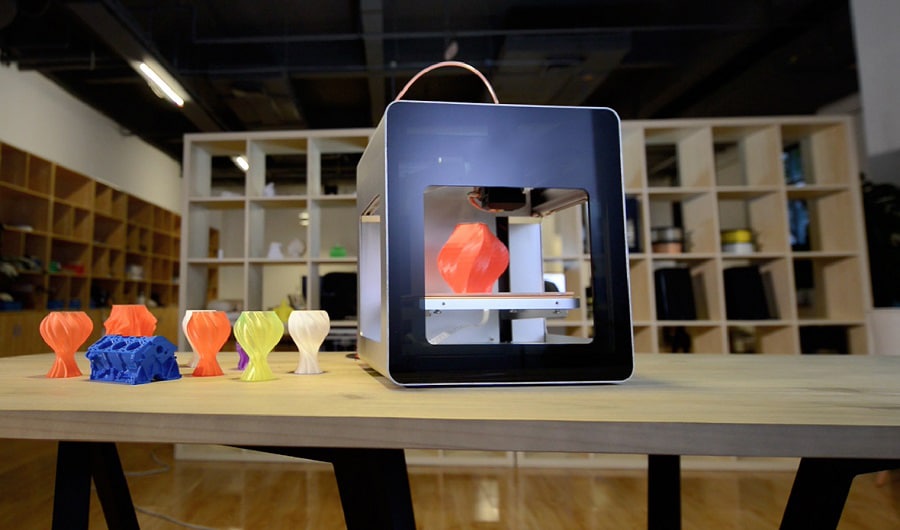
For many 3D print models, painting is a necessary part of their finishing, and it helps bring out their full splendor. As such, if you’re new to the hobby, you’ll have to learn how to paint 3D prints sooner or later.
Fortunately, the process incorporates the same steps each time, so once you’re familiar with it, there’ll be little else to learn. However, this is not to say that it’s easy. It can be pretty complex, especially for beginners, but we’ve included all the necessary steps below. As such, you can use this reference the first few times you paint the models, and once you’re comfortable and proficient, you won’t need to keep coming back to it.
Notably, you can’t just start painting the model the moment you remove it from your beginner-friendly 3D printer. You have to slowly work up to it because the parts are simply not ready. This will involve smoothing and priming the parts, and although it might sound simple, sometimes it’s tricky. That said, here’s a look at the smoothing aspect.
Smoothing is the first step after your model comes out of the PLA or ABS printer. This is because there are blemishes left on the model that you need to get rid of before applying paint. The tools you use for smoothing will likely depend on what you have at home or what you can easily get your hands on. Of course, if you’ve been working with 3D models for longer, you’re likely going to have more tools at your disposal. That said, here’s a list of the bare minimum.
Step 1 – Detach the supports
Supports are a necessary component of any 3D printing project, but they need to be removed before you can paint the part hence the inclusion of flush cutters and tweezers in the list above. You want to cut off these supports as close as possible to the surface of the print without eating into it.
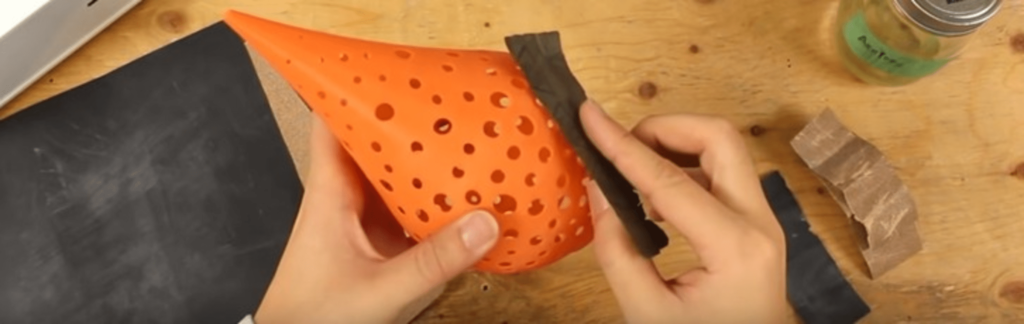
Step 2 – Sand down the 3D print
Depending on how well you handled the first step, step 2 could be easier or more complex as you want to eliminate the protrusions left and leave a smooth surface. If you’re using a Fused Deposition Modelling printer or a 3-in-1 3D printer and opt for FDM printing, this part of the process will also be more complicated.
You want a smooth surface all around the model. However, according to Live Science Trusted Source Fused Deposition Modeling: Most Common 3D Printing Method | Live Science FDM printers use a thermoplastic filament, which is heated to its melting point and then extruded, layer by layer, to create a three dimensional object. www.livescience.com , the FDM system typically involves laying down thin layers of plastic that cool and harden before other layers are placed on top of them. This is repeated by the machine until the model is complete, and it’s bound to produce lines on the outer surface of the print. As such, you’ll have to sand that down as well.
Use 220 grit sandpaper on the lines and stubs left by the supports, and you can work your way up through finer sandpaper until you get the smooth surface you want.
According to
HowStuffWorks
Trusted Source
Why do I need to use primer? | HowStuffWorks
Primer can mean the difference between an excellent paint job and one with glaring mistakes. Learn why primer can make a wall shine.
home.howstuffworks.com
, primer provides a uniform layer for the paint to bind onto, whether on plastic or any other materials. To get the primer onto the model, you’ll need:
There’s no problem with re-using the same toothbrush you used for smoothing.
Step 1 – Drill and mount the model
You want access to all the parts of the model while you paint, and one way to get that is to drill it and mount it on a thin dowel. The dowel should also be mounted onto a base capable of holding the model up. Alternatively, you can hold the model by the dowel as you lay the coats of primer.
Step 2 – Wash the model
Use the toothbrush and some distilled water to clean the model thoroughly, then wipe it down with the tack cloth. Keep your wiping strokes moving in one direction and ensure you pay particular attention to creases in the details.
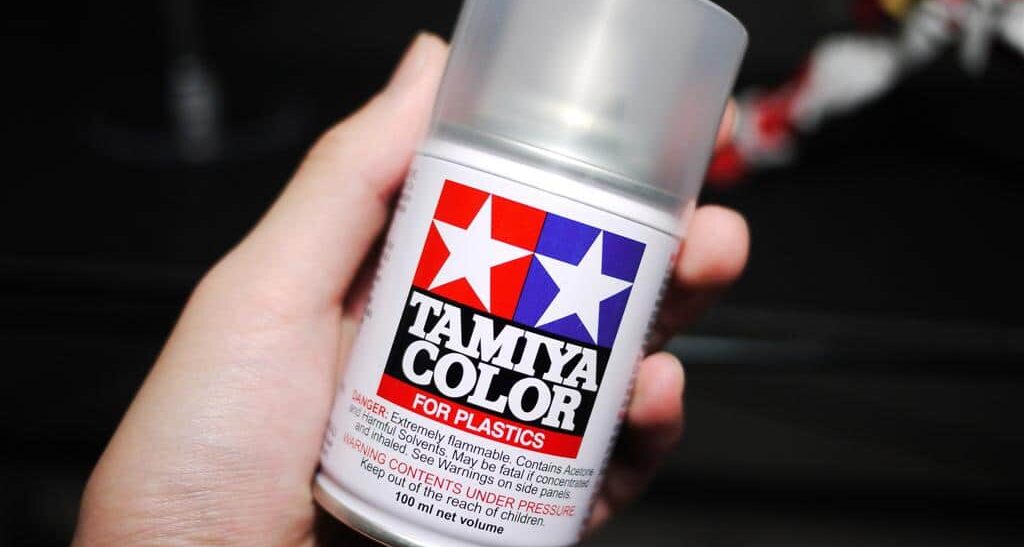
Step 3 – Prep the primer and spray the first coat
Users recommend the TAMIYA TS-80 Clear Flat Spray, a 100ml can of flat clear primer designed to work with plastics, making it suitable for 3D print models. Nevertheless, prepping your primer typically involves gently swirling the liquid in the can using fluid, circular motions. It’s easy to get impatient and shake it. However, this will lead to the introduction of bubbles in the paint and ruin the paint job.
If you swirl the primer can slowly, the pigment mixes well with the solvent, and over time you’ll feel the mixing ball rolling inside the can. Follow up by spraying the first coat of primer. Keep the primer spray can 6” – 8” from the model and use rapid strokes that cut across from one end of the model to the other.
Use the dowel and base to rotate the model as you spray the primer. Start light and lay down a thin layer of primer, and you can build up the opacity as you go along. Also, remember not to let the primer pool on the model.
Step 4 – Inspect the model and add the final primer layers
Inspect your model under a light as the primer will make blemishes more visible. A secondary sanding session may be necessary once you’ve inspected the part. If so, you’ll have to clean the model with a brush and water every time you re-sand before trying to lay another thin layer of primer.
Also, if you accidentally ate into the model as you were sanding or cutting the support stubs, you can use spot putty to refill the model. Just ensure you sand the putty as well. Lastly, each primer layer should be allowed to dry before adding the next one.
The final part is actually painting your 3D prints, and just like with the primer, using spray paint cans is ideal since they’re affordable and offer even coats of paint. That said, it’s also possible to hand paint the model, although it’ll be significantly more work. Ultimately for spray painting your models, you’ll need:
If you want a polished finish for your model, buffing sticks will help you bring that out. Also, assuming you’ve already smoothed and primed your 3D model, here’s how you spray paint it.
Step 1 – Prepare the model for the undercoat
Use your sticks on the model to ensure a glossy finish by buffing and polishing the part. Follow up by wiping the dust off using the tack cloth. You can also use compressed air to get rid of dust in the hard-to-reach areas. Whatever you use, be careful not to break or damage the model.
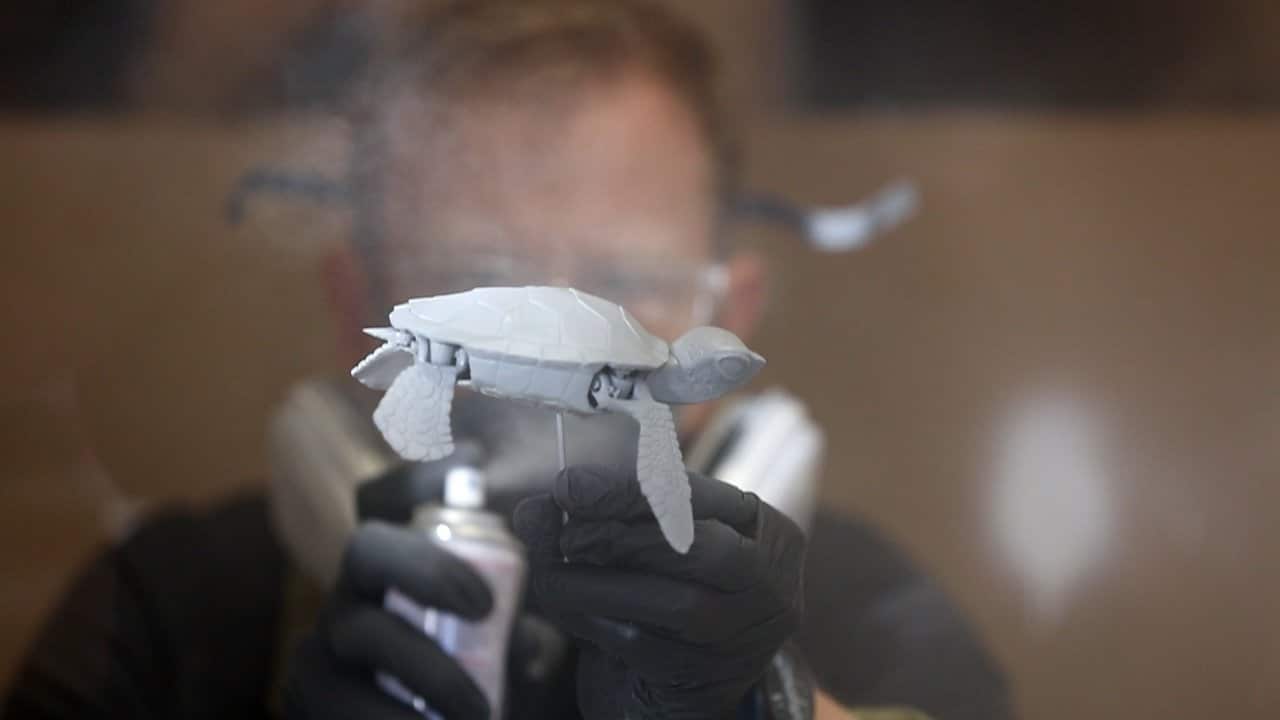
Step 2 – Set up for the paint job
You’ll have to mount the model on the same dowel and stand you used for applying the primer. Next, your health is a priority, so wear your gloves and respirator, and finally look for a well-ventilated area to work in. Also, just because it’s well ventilated doesn’t mean it should be windy or drafty as you want to avoid the spray getting onto other materials. After that, select the paint you’ll use for the undercoat, topcoat, and clear coat.
Generally, black is great for the undercoat if you’re painting your model using darker pigments, while white works best for light-colored paints.
Step 3 – Lay the undercoat
Use similar motions for spraying the undercoat as you did with the primer. Ensure you run the entire length of the model as you spray to ensure you don’t miss anything. Also, the can should have instructions on how close or far away you should place the can as you’re spraying.
The undercoat should cover the entirety of the model, including the details. Also, you want to work your way up to opacity by first starting with translucent layers. As such, it’s okay if you can still see the primer under the first or second layer of the undercoat.
After that, let the paint dry before polishing the part with your buffing sticks. You can add two extra undercoat coats if necessary to achieve an even surface.
Step 4 – Set up the painter’s tape
Depending on the intended color scheme, you can add painter’s tape to preserve the color of your undercoat while you paint other areas of your model. That said, you have to make sure it’s firmly attached to the parts you want to preserve to prevent paint from getting under it.
Step 5 – Add the topcoats
Again you want to swirl the paint carefully until it’s mixed in before you lay it on the model. You can maintain some semblance of translucency where the undercoat is still visible by keeping your layers thin and light. Also, don’t rush to finish. Instead, let the layers dry so you can see the saturation before deciding to add an extra layer.
Step 6 – Finish with the clear coat
A clear coat is another way to give the paint job a glossy finish and seal the first few layers of paint, although matte clear coats are also available in the market. Notably, this step is optional. However, if you still want to go through with it, remove the painters’ tape and layer the clear coat the same way as previous coats of primer and paint. After that, you’ll be done with painting your 3D print model.
If you’d rather paint the model using your hands, the differences start to show up even in the priming stages, and here are the steps to follow:
Step 1 – Add primer
The priming process is similar to when you’re using spray paint up until you’ve washed your model. After that, you prepare the primer according to the manufacturer’s instructions and use a brush to apply it to the model. You can use a thick brush since you intend to cover the whole model. Thin layers of primer are still preferred, and you’ll have to work your way to opacity.
Step 2 – Set up your equipment and model
You can set up for the undercoat the same way you do for spray painting, as shown above. However, the equipment and materials you use for hand painting will differ since you don’t have spray cans. You’ll need plastic-compatible paints such as acrylics. Additionally, you need multiple paintbrushes to cater to the different size strokes for painting your model.
You’ll still have to pick the undercoat, topcoat, and clear coat. Also, set up your workshop, so the tape doesn’t spill onto your worktable. Placing the model on a piece of cardboard rather than the worktable should be sufficient.
Step 3 – Start painting
You’re going to need to start with the undercoat. Start with a thin coat and eventually work your way up to an even surface. After that, you let it dry before introducing the topcoats. Also, while some people are artistic enough to add topcoats with just a brush, most will still need to use painters’ tape. That way, you won’t have to worry about painting over any areas you didn’t intend to.
Let the topcoats dry to see the saturation before you finish up with the clear coat if you want to. However, you can leave it as it is if you don’t need a glossy finish. After that, you’re done. Notably, just because you’re painting with your hands doesn’t mean you shouldn’t take any precautions. Wear gloves, a respirator mask, and ensure you work in a well-ventilated location.
To avoid drafty or windy conditions, you can build a makeshift cardboard enclosure for painting current and future 3D print models. This concludes our guide on how to paint 3D prints. It can take some time to get the hang of detailing, but for beginners, this guide should be enough to give them excellent color results in their models.