How to Oil a Sewing Machine in 4 Steps

By
Marilyn Grant
Marilyn Grant
Writer
Marilyn knows how to present the dullest topic in an interesting and easy-to-read way. When she’s not teaching English Literature at a local school or writing for our site read more
reviewed
Reviewed By
Julie Flores
Julie Flores
Expert Consultant
Julie owns a shop specializing in sewing equipment and accessories. No wonder she knows everything when it comes to technical specifications of practically anything we revie read more
Last updated: August 19, 2023
CraftyHangouts is reader-supported. We may earn a commission through products purchased using links on this page. Learn more about our process here

As any avid seamstress will tell you, properly maintaining your sewing machine is crucial to ensuring its lifespan. Aside from cleaning your machine and using the correct needles, the other important maintenance function is oiling regularly. But, if you’re new to the machine sewing game, you might be wondering just how to oil a sewing machine.

In today’s article, I’ll be discussing the importance and the procedure of oiling your sewing machine. I’ll also share steps to oil different sewing machine brands, because as you know, not all sewing machines are the same. Read on to see how easy it is to oil your sewing machine.

Why you should oil your sewing machine

The primary purpose of lubricating your machine is to prevent friction damage between your machine’s moving parts. By limiting the friction between the different parts, you’ll minimize them grinding against each other and eventually wearing down.

The type of material you use and how often you use the machine will determine how often you should oil it. Fabrics like velvet, that “shed” pieces of lint, will require your machine to be cleaned and oiled more often.

What you’ll need to oil a sewing machine

Ensuring you have the right tools available to oil and clean your sewing machine will make the process simpler. I’d suggest getting a small bag or box to store the different items you’ll use for cleaning and oiling. This way everything you need is always together; it can be kept clean from dust and other particles and can be used without fuss at any time.

Oil choice

How to Oil a Sewing Machine in 4 Steps

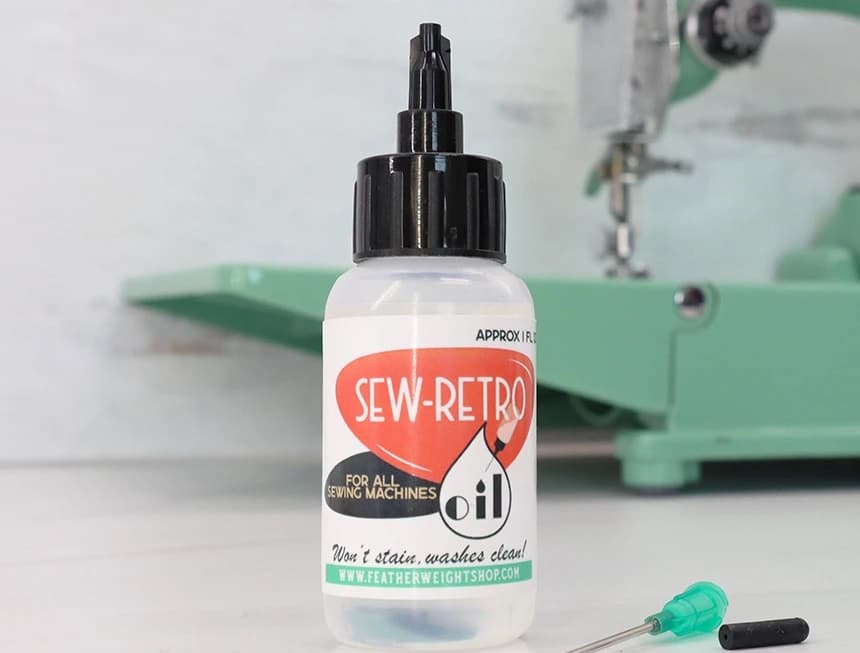
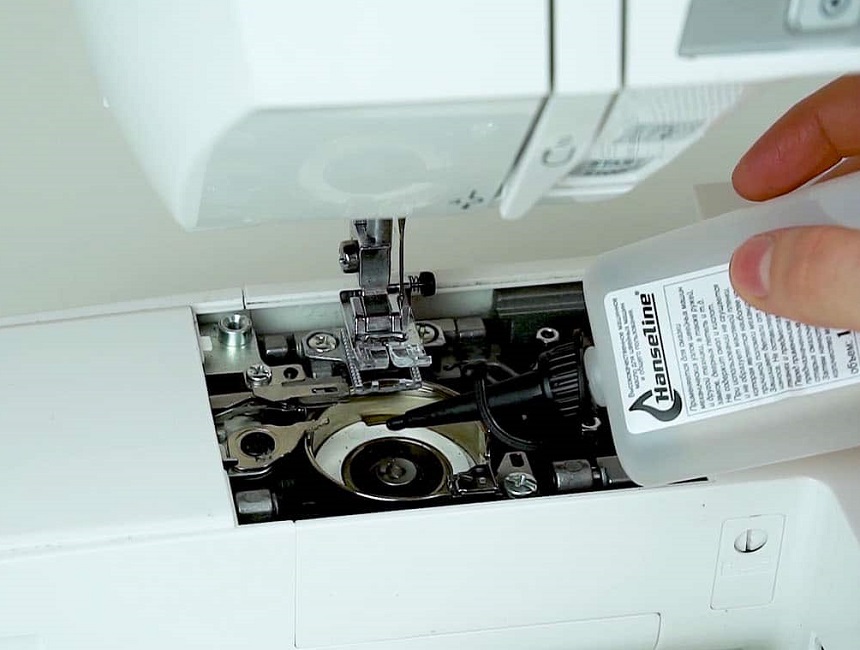
Ideally, you want to use the oil recommended by your manufacturer. Some brands offer their own branded oil for sewing machine maintenance. But other substitutes that can be used include the following:

  • White mineral oil: Clear liquid oil which is cheap and readily available in most drug stores
  • Liberty oil: Clear non-staining oil that’s compatible with any type of sewing machine
  • SEW-Retro Grease: Motor and gear lubricant for older or antique sewing machines
  • Universal Sewing machine oil: Also called Lily-white oil, suitable for any type of sewing machine

Other tools

How to Oil a Sewing Machine in 4 Steps

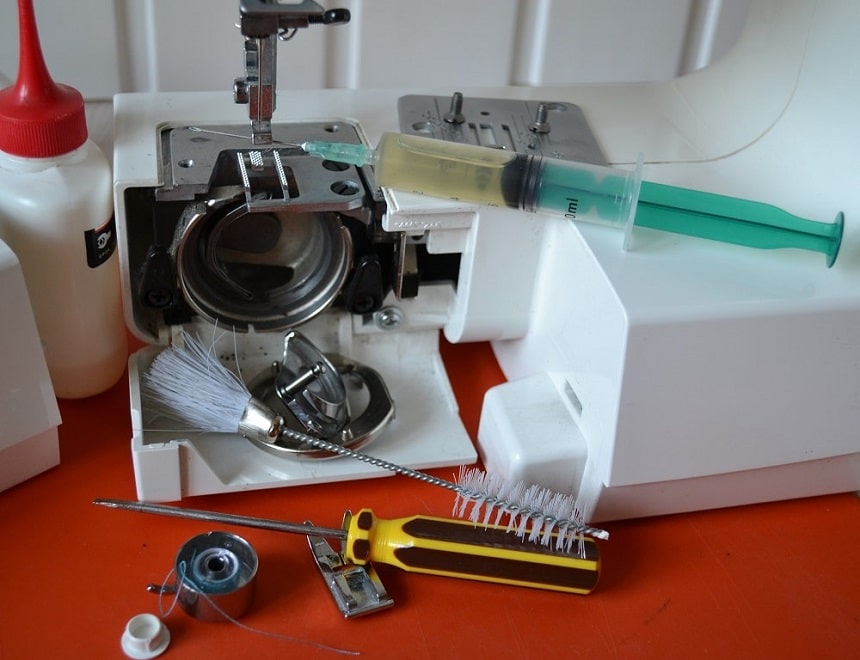
Other tools that will come in handy include the following:

  • Small and large screwdrivers: Ensure they fit the screws exactly to avoid damage
  • Small adjustable wrench: This is for parts that may be harder to remove
  • Nylon cleaning brush: Small enough to reach and clean components without bending or damaging them
  • Small container: Use this to soak parts in cleaning fluid
  • Lint-free cloths: Using a lint-free cloth Trusted Source Lint (material) - Wikipedia Lint is the common name for visible accumulations of textile fibers and other materials, usually found on and around clothing. Certain materials used in the manufacture of clothing, such as cotton, linen, and wool, contain numerous, very short fibers bundled together. During the course of normal wear, these fibers may either detach or be jostled out of the weave of which they are part. This is the reason that heavily used articles like shirts and towels become thin over time, and why these particles collect in the lint screen of a clothes dryer. en.wikipedia.org will ensure no lint is transferred back to the components
  • Scrap fabrics: This is to test the stitching afterward and to ensure there’s no excess oil leaking from any parts
  • Tweezers: To remove small pieces of fabric, thread or lint inside the components

Step 1: Preparations

Read the instruction manual that came with your sewing machine. If you no longer have the manual, it should be available on the manufacturer’s website. The manual will tell you what parts should be removed, the easiest way to do it as well as where to oil sewing machine.

Prepare a flat work surface where the parts can be laid out, cleaned and replaced without risk of losing or dropping any. Ensure you have all your tools at hand.

Step 2: Cleaning

Ensure the machine is switched off and unplugged. Following the instructions in your manual, you’ll want to take it apar one piece or section at a time. Clean each piece as recommended and with the tool required.

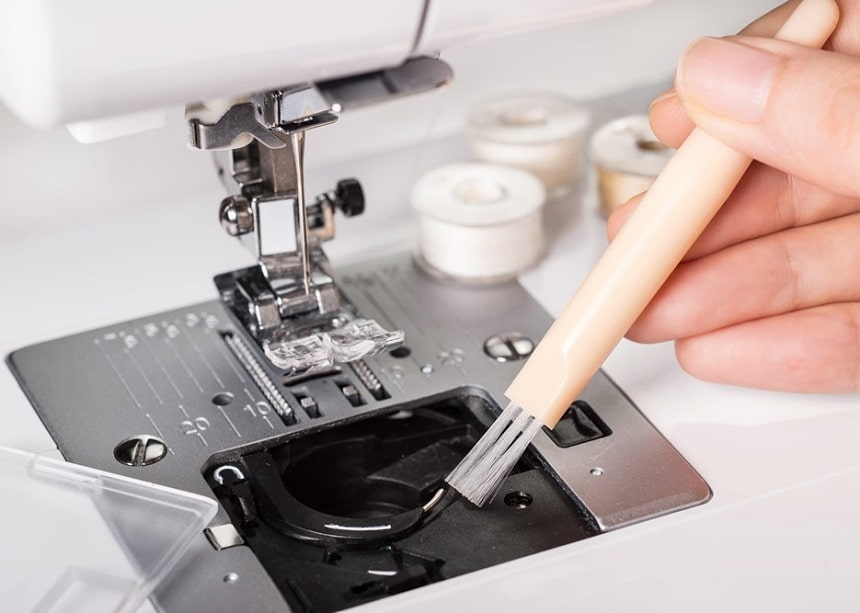
Remove extra components such as thread, bobbin cases, pressure foot and plates. You should also remove the machine needle to avoid injuring yourself or damaging the needle. Don’t brush if the instruction says wipe with a soft cloth. Remember that machine parts are delicate and could break easily if not handled correctly.

Step 3: Oiling

It’s important to remember that normal household oils such as WD-40 won’t work. Sewing machine oil has a different consistency.

The trick here is to work slowly. Follow the instructions in your manual and clean and oil each component and replace it before moving to the next. Use a few drops at a time. Inspect each component to ensure there isn’t any damage before replacing it.

Step 4: Finish

Wipe away any excess oil after replacing each part. Run muslin through the machine to ensure there’s no oil on the parts touching the thread or fabric.

How to oil sewing machine by brand

Since not all sewing machines work the same, it’s only fair to assume they don’t all get oiled the same way. Let’s have a look at oiling different sewing machine brands.

Singer

How to Oil a Sewing Machine in 4 Steps

Simple steps on how to oil a Singer sewing machine:

This easy-to-follow oiling method will apply to all Singer models including the Singer 4423 sewing machine, which has often been described as the best singer sewing machine to use!

Brother

Easiest method on how to oil a Brother sewing machine:

  • Open the hook cover of your Brother sewing machine
  • Remove the bobbin case
  • Rotate the handwheel to about 50°
  • Pour a drop of oil onto the race of the hook
  • Insert the bobbin case into the hook
  • Close the hook cover

Kenmore

How to Oil a Sewing Machine in 4 Steps

Four easy steps explaining how to oil a Kenmore sewing machine:

  • Clean the feed dogs with a small nylon brush
  • Clean the shuttle area of dust, lint and any loose threads
  • Pour a drop of oil on the center pin of the shuttle race as well as the pin
  • Once completed, slip the shuttle race cover back into place

Janome

The process for how to oil a Janome sewing machine is slightly different. In general, Janome machines only require a small drop of oil to be placed on the wick situated under the bobbin case. For other lubricating, the machine must be taken to a reputable dealer for a thorough service.

Models such as the Janome C30 not only feature computerized buttons for easy reverse and locking stitch but require very little at-home maintenance. Consult your manual for accurate instructions.

Babylock

The process of how to oil a Babylock machine isn’t like many of its other sewing machine counterparts. Babylock machines have a restriction on oiling. Their user manuals state that the machines shouldn’t be oiled by home users. This is because their sewing machines are designed with the right amount of oil already inside. Refer to the user manual as well as your local dealer for queries.

Bernina

Three easy steps for how to oil a Bernina sewing machine:

  • Remove the bobbin as well as the bobbin case
  • The Bernina hook and CB hook should also be removed, depending on the model
  • Follow the instruction manual to see how each part should be oiled and replaced

Juki

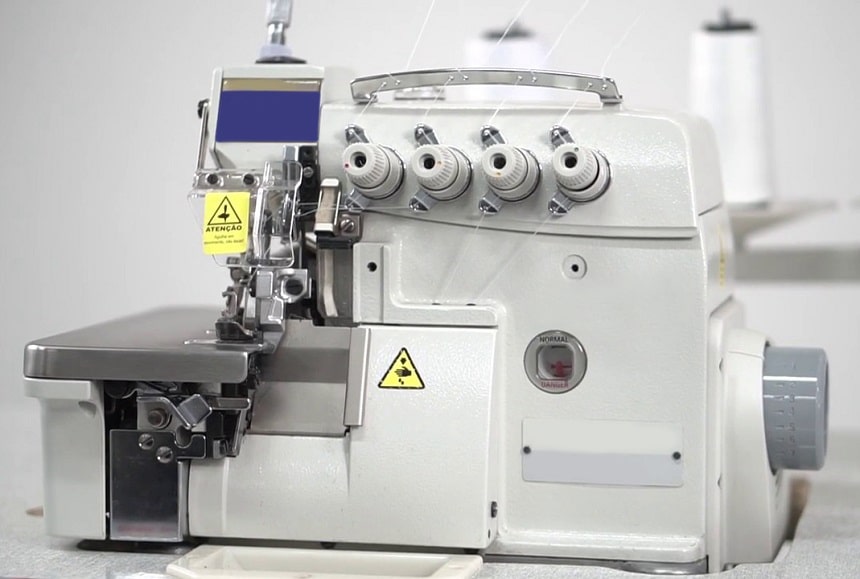
How to oil a Juki Industrial sewing machine:

  • Remove the needle, presser foot Trusted Source Presser foot - Wikipedia A presser foot is an attachment used with sewing machines to hold fabric flat as it is fed through the machine and stitched. Sewing machines have feed dogs in the bed of the machine to provide traction and move the fabric as it is fed through the machine, while the sewer provides extra support for the fabric by guiding it with one hand. A presser foot keeps the fabric flat so that it does not rise and fall with the needle and pucker as it is stitched. When especially thick workpieces are to be sewn, such as quilts, a specialized attachment called a walking foot is often used rather than a presser foot. en.wikipedia.org as well as the throat plate.
  • Use the small cleaning brush to clean out any thread, lint or other debris.
  • Some models don’t require oiling, so consult your user manual for your specific model’s requirements. Follow diagrams for cleaning and oiling where relevant.

Final thoughts

With the simple steps I’ve shared, oiling your sewing machine should be a breeze. Always consult your manufacturer’s manual and ensure you have the correct type of oil and tools. Before you know it, you’ll know everything there is to know about how to oil a sewing machine!

References

1.
Lint (material) - Wikipedia
Lint is the common name for visible accumulations of textile fibers and other materials, usually found on and around clothing. Certain materials used in the manufacture of clothing, such as cotton, linen, and wool, contain numerous, very short fibers bundled together. During the course of normal wear, these fibers may either detach or be jostled out of the weave of which they are part. This is the reason that heavily used articles like shirts and towels become thin over time, and why these particles collect in the lint screen of a clothes dryer.
2.
Presser foot - Wikipedia
A presser foot is an attachment used with sewing machines to hold fabric flat as it is fed through the machine and stitched. Sewing machines have feed dogs in the bed of the machine to provide traction and move the fabric as it is fed through the machine, while the sewer provides extra support for the fabric by guiding it with one hand. A presser foot keeps the fabric flat so that it does not rise and fall with the needle and pucker as it is stitched. When especially thick workpieces are to be sewn, such as quilts, a specialized attachment called a walking foot is often used rather than a presser foot.
Leave a comment

Your email address will not be published. Required fields are marked *