These days T shirts form a crucial part of a brand’s merch. According to the Licensing Industry Merchandisers Association the global music merchandise market, of which shirts are a considerable part, is worth over $3 billion Trusted Source More than merch: why band T-Shirts are so important - BBC The Licensing Industry Merchandisers’ Association reported that the global music merchandise market (of which T-Shirts are a considerable part) was worth $3.1 billion in 2016, up 9.4% from the $2.83 billion generated in 2015. To put that in perspective, the gross revenue from live music concerts worldwide during 2016 was $4.88 billion; while the global market for recorded music that same year was worth $15.7 billion, according to IFPI. So, still a vital source of income for artists. www.bbc.co.uk . Whether it is a favorite band, an influencer or simply a catchy slogan, T shirts remain a popular option.
Fortunately, you don’t need to spend a fortune to create your own unique t-shirts and branded merch. So, here we’ll explore how to make heat transfers.
Using heat to transfer artwork onto a shirt is flexible, fast and easy. It provides a simple way to customize t-shirts with any design, logo or picture of your choosing. You can create neat printing with designs that can last for many years. So, let’s delve into how you can accomplish making heat transfers at home.
Heat transfer is the process of printing on to fabrics. You transfer a design from paper to fabric just using pressure and heat. You can print full color images on to your fabrics, but there are both pros and cons of this method.
Before you can learn how to make heat transfers for shirts, you’ll need to gather your supplies. The materials and tools you’ll need include:
Before you fire up your heat press, it is important that you create a compelling design that will work well on your chosen shirt.
You need a design idea that captures a theme or meets a goal for your specific project. For example, if you’re promoting a local band, you need a design that includes a web address or some other way that people can see the band.
Once you have your idea, you will need to lay out your design. Play around with the elements of your design to see which variation works best. You will also need to think about the best placement for your design.
For example, you may find the back of the shirt is a good place for a slogan, while the top left corner is a good spot for a logo. However, if you want to make a bold statement, right on the front may be best.
Check that your typography and colors make the design clear and easy to read. Then you’re ready to print.
There are several stages of how to make heat press transfers and heat transfer vinyl.
Next, we’ll delve into how to make plastisol heat transfers. Plastisol has the potential to be as durable as standard screen printing, but it is far easier to apply.
The first thing to do is run your transfer paper through a conveyor dryer. The paper needs to be total dry, so it will not interfere with the ink. You need a flat, stable transfer paper for successful multicolor transfers.
Once you print your design, you’ll need to coat your transfers with adhesion powder. It is a good idea to wear gloves at this stage, as your skin contains oils, which can transfer from your fingers.
After the transfer is covered with power you can gel the ink. Standard plastisol inks require 260º heat in the dryer to complete this.
You will then need to heat press according to the type of adhesion powder, transfer paper and heat press model you’re using. Press as normal and then peel the paper to see your finished shirt.
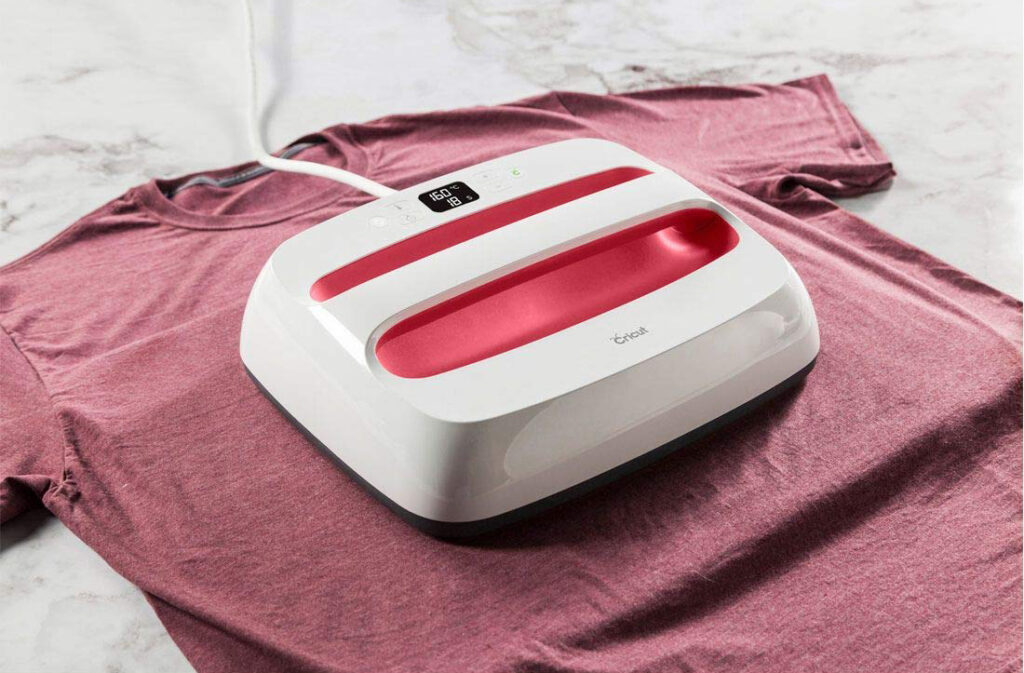
Cricut Infusible Ink transfer is a new way to make transfers without needing a printer. This product allows you to use pre printed transfer sheets to cut out your own designs. You can then apply them with your Cricut EasyPress 2.
There are lots of different transfer sheets on the market, including different designs and solid color sheets. You can even purchase infusible ink markers, so you can make your own projects or turn your kid’s artwork into a design.
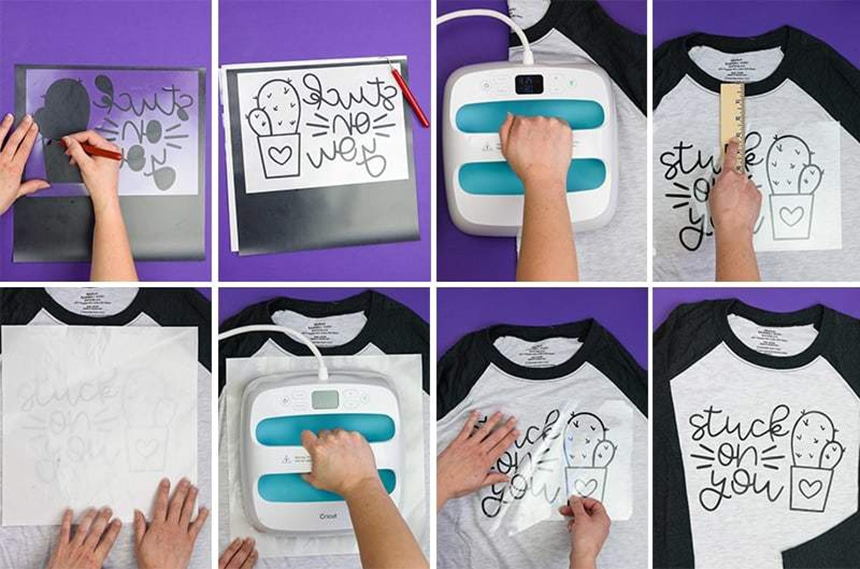
Inkjet heat transfer is probably the easiest method of how to make heat transfers at home.
All you need is Avery transfer paper, your inkjet printer, a cutting machine and a heat press or iron.
Once you have made your design, you can print it using your inkjet printer on the paper. Use the print and cut feature on your cutting machine to cut around the outside of your image.
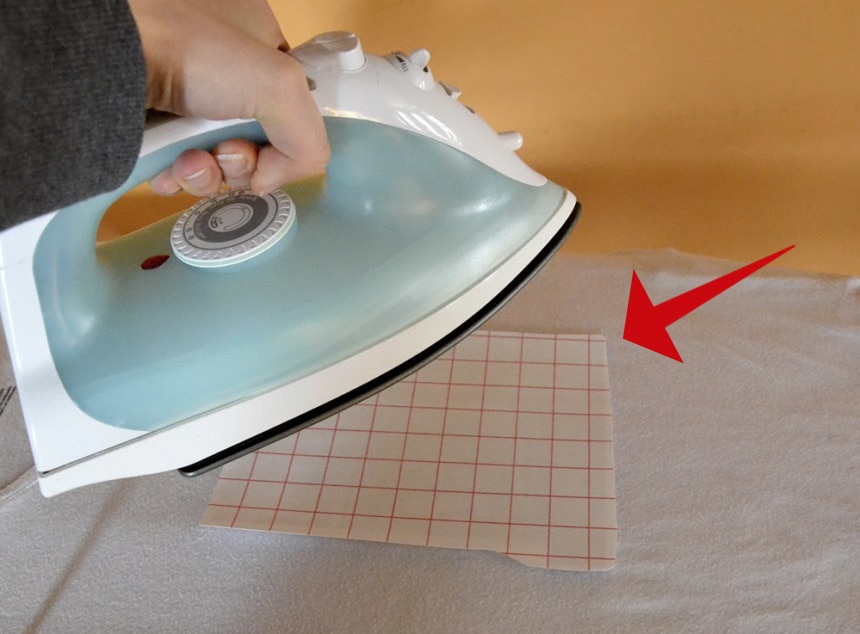
You can then pull away the backing paper and place the transfer onto your garment. Then you’ll need to press the design. You can use a heat press machine or your iron. As with the other methods, you’ll need to protect the design. So, if you’re using an iron, place a clean, white handkerchief or other piece of light material over the design, so the iron does not come into direct contact with the design.
If you want to take your printing up a notch, you may be interested in how to make screen print heat transfers. This is a slightly more complicated type of heat transfer, but it can deliver excellent results.
You’ll need a heat press, but you will also need screen printing ink and freezer paper. Cut your design out of freezer paper to create a stencil. You will then need to iron the freezer paper into place on your t-shirt.
Paint the screen printing ink over the stencil, so it is applied to your shirt. You can then heat press the garment to set the design.
Sublimation heat transfer is a unique way to create heat transfers for your home crafts or business. Typically, sublimation transfers are only for white polyester shirts and garments, but it is possible to find sublimation products that are suitable for dark colored items.
For example, EasySubli inks can be used on dark garments and cotton t-shirts.
You will need a sublimation printer, along with sublimation sheets to complete your transfers.
Once you create your design using computer software, you can print it. You can either use a specifically designed sublimation printer, or convert your existing ink jet printer to use sublimation ink.
Print on sublimation paper and then heat press as usual to transfer the design.
Sublimation printing transfers your image, delivering the quality of screen printing but without the color and complexity limitations.
Printed t-shirts are all around us. From creating a casual, yet coordinated uniform to promoting a brand, a t-shirt can be a great way to get your message out there. Learning how to make heat transfers will allow you to create and print your own unique designs.
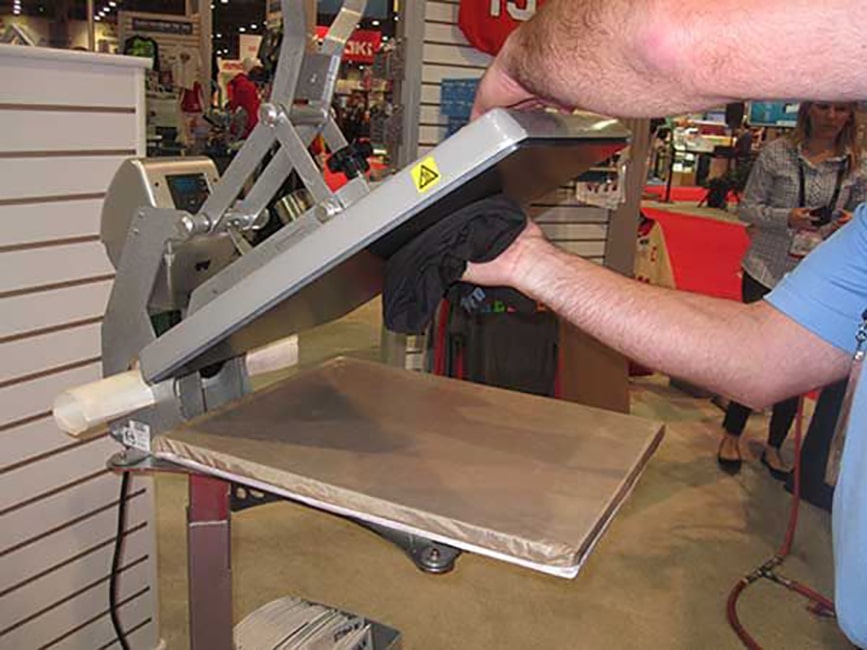
There are various methods of heat transfer, and many of these don’t require anything more specialist than transfer paper. You can use an iron to transfer your design on to the shirt. However, this can be a slow, tedious process that may encourage you to invest in a heat press.
These machines are designed to help you safely and quickly heat press your design within less than five minutes. This can help you to enjoy a pro style finish from the comfort of your own home.