If your favorite mug has a design on it, the chances are that it was heat-pressed.
Heat presses
Trusted Source
Heat press
- Wikipedia
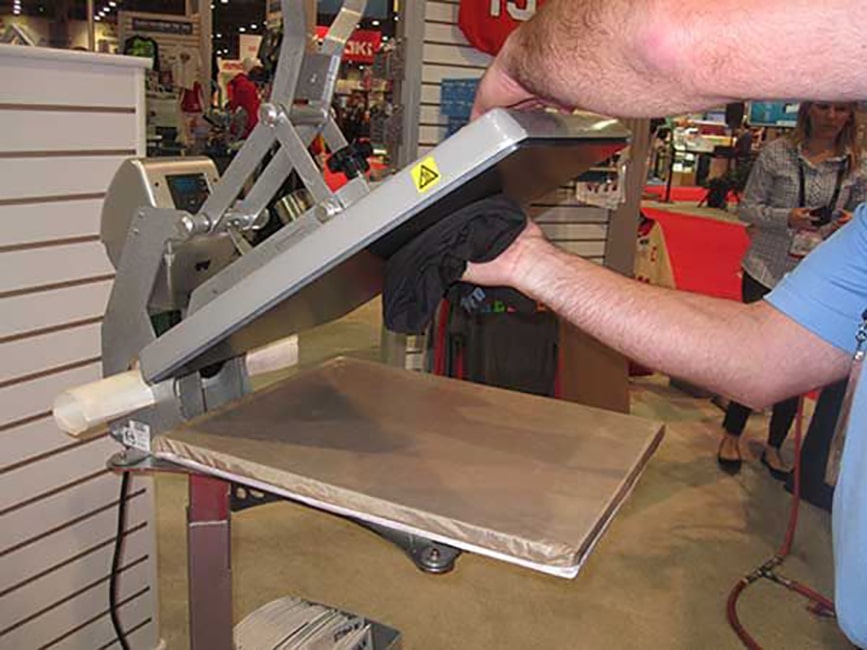
A heat press is a machine engineered to imprint a design or graphic on a substrate, such as a t-shirt, with the application of heat and pressure for a preset period of time. While heat presses are often used to apply designs to fabrics, specially designed presses can also be used to imprint designs on mugs, plates, jigsaw puzzles, caps, and other products.
en.wikipedia.org
are responsible for the wide variety of mug designs these days. They are relatively affordable and easy to use, which is why more people are buying them. If you are thinking about starting a business, then pressing custom designs on mugs is a good option. However, before you think about buying one, you need to know how to heat press a mug. In this post, we consider just that. We show you the things you need to get started on using a mug press.
With this information in hand, you are well on your way to starting your custom press designs and have a great time while doing so. Apart from teaching you how to use the machine, we also provide you with several tips on safely and successfully transferring the heat to mugs, some of the temperature guides, and how to maintain the machine that you use.
To heat press a mug, there are several equipment and materials that you will need. This section covers the most important stuff you will need handy.
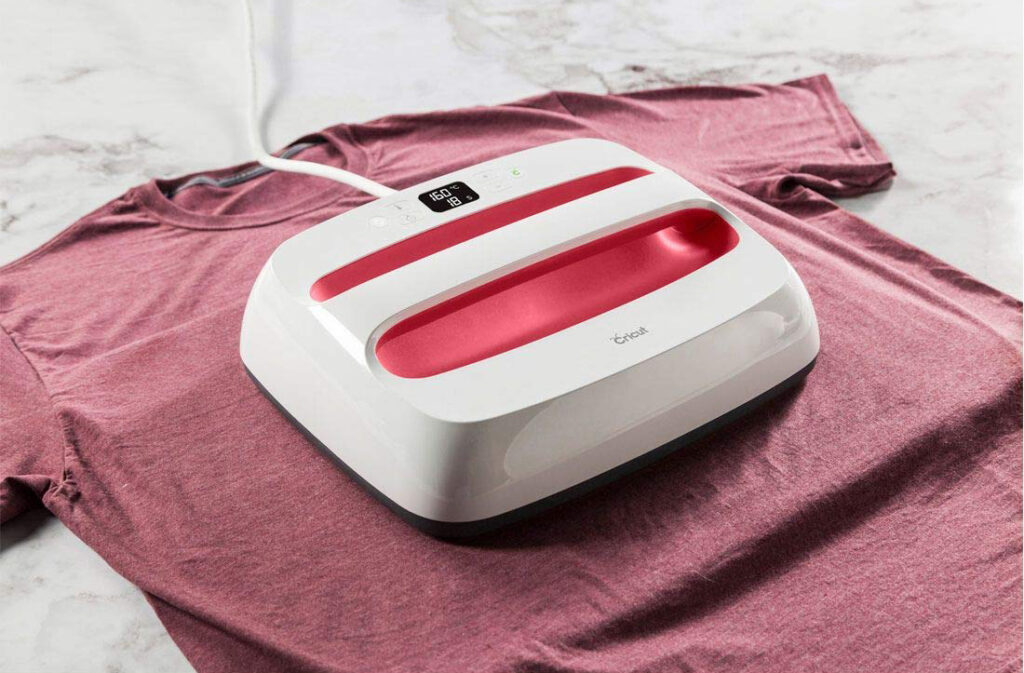
There are different types of heat press machines. Some of them include:
You can use adhesive vinyl to press your mugs. It is pretty easy, and this tutorial will show you just how you can do it successfully.
Before you begin, ensure that you have all the things that you need. Check out the equipment and materials section of this article. With that in place, here are step-by-step instructions.

If you don’t have a heat press, you can use a regular iron. In this section, we show you how you can do this with an iron.
Step 1. Clean the mug with rubbing alcohol. This is to remove any impurities on the body of the mug that could affect the quality of the finish. After cleaning, avoid touching the mug’s body and only hold it from the handle.
Step 2. Design the quote or design that you want to put in the machine software. There are several software available, so find that which is easier for you to do. Load the heat transfer vinyl into the machine to cut out the design you have made.
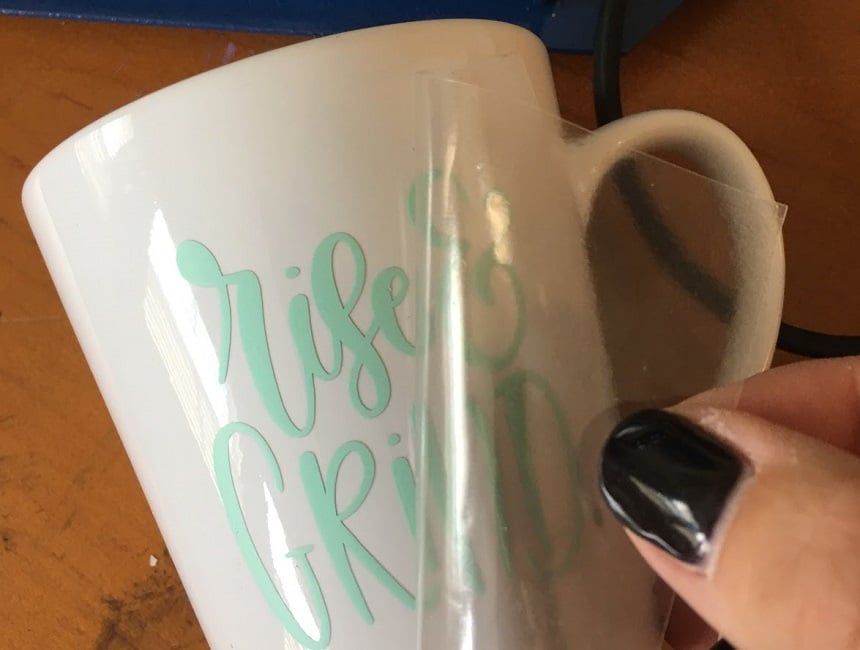
Step 3. Remove any extra vinyl, then position the vinyl on the mug. To ensure that the design doesn’t move while you iron, use the tape to hold it down. Many have praised the Cricut Vinyl Transfer Tape as one of the best and more affordable tapes available today.
Step 4. Next, use the iron to press the design on the mug. When ironing, set the heat to around 425 or 400 degrees Fahrenheit.
Step 5. After ironing a spot, use the towel to press down with the iron for about 15 seconds until the vinyl has adhered to the mug. After that, choose a new spot to press down on. You might have to do this severally, depending on the size of the design and the mug. The main thing is to ensure that the design sticks. After it is stuck, remove the plastic backing.
This is how to transfer the vinyl to the mug. It is pretty easy and straightforward.
Tips:
This is arguably the easiest way to heat press a mug. Here are the steps to follow.
Step 1 – Get a Good Image
You need to get an image that you like. You can create images and designs using software like Paint and Photoshop. You could also buy an image or design from a craft store.
Step 2 – Print the Design
After you have determined the image to use., print the design with an inkjet printer. If you don’t have a good printer, you can buy one from the top brands that sell inkjet printers.
Step 3 – Place the Print on the Mug
After printing the design or image, use thermal-resistant tape to fix the design on the surface of the mug. Before you place the sublimation paper, you should ensure that there is no moisture on it.
Step 4- Preheat the Heat Press
The heat press machine should be preheated. You do this by switching it on and setting the temperature to around 100 degrees Celsius for ten seconds.
Then put the mug inside the frame and ensure it is fixed. Then increase the heat press temperature to up to 325 degrees Celsius and wait for 4 minutes.
Step 5 – Remove the mug.
After the time has passed, remove the mug from the frame and cool it for about five minutes. Then remove the tape and the sublimation paper gently.
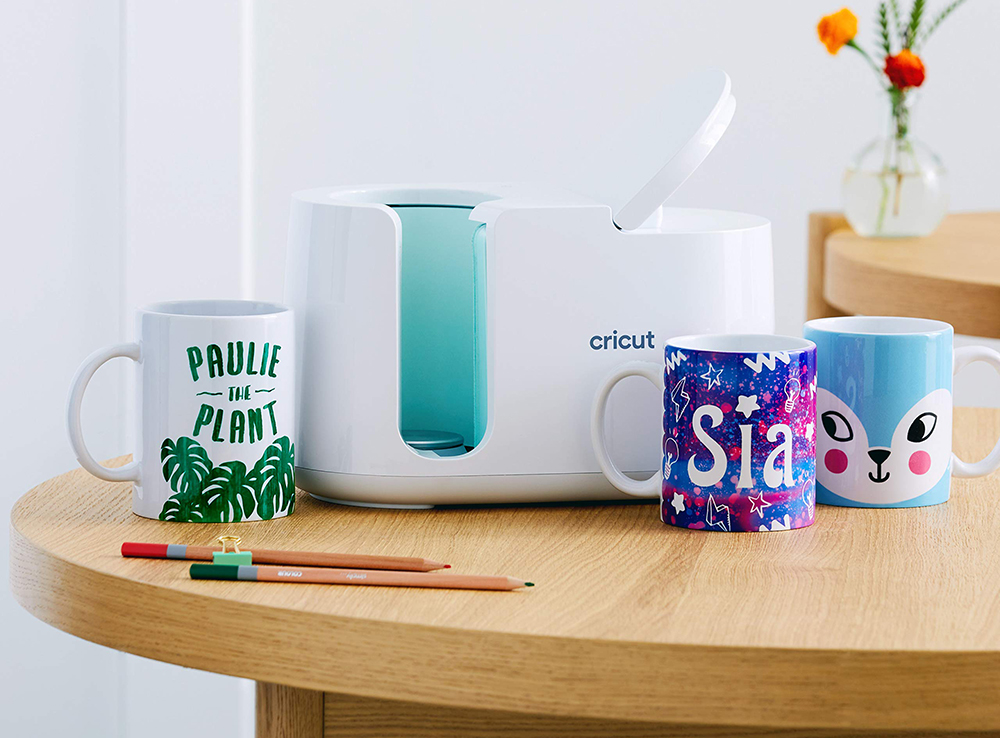
It is important to choose the right heat press machine. Reviews indicate that the Cricut Mug Press is one of the best of its kind on the market.
If you have gotten a heat press machine, you need to keep in mind that it requires a good amount of maintenance. You will thus get more enjoyment out of your investment. Maintenance will also make the machine last for longer and work better.
In this section, we provide you with some tips that will help you to get the best of your machine for a longer time.
The first tip on getting your machine working well and having a good time with your work is to ensure that the workplace is clean all the time.
To that end, you must regularly clean the workspace to remove impurities like lint, hair, and other trash. If not clean properly, these can be stuck in the mug as you do the transfer. And when there are impurities in the transfer, the quality of the finish would be affected.
Next up is the requirement to regularly dust the machine. It requires frequent cleaning for several reasons. For one, when it is cleaned properly, you will prevent it from running hot because of dust that builds on it.
To ensure that no dust is on the machine, you should also cover it with a clean cloth. This will keep the different parts of the machine free from dust and similar problems.
As long as a machine has moving parts, you will need to keep friction at a minimum. If not, this can cause wear and tear of the machine, and the heat can also cause damage. Therefore, it is recommended that you use a high heat lubricant on the heat press.
Apart from making the machine last longer, it makes your work even smoother. It will make the lowering and lifting of the plates smoother.
It is highly recommended that you do this at least once every year.
The heat platen of the machine is pretty important, and it requires cleaning. Therefore, ensure that you clean it often. You can clean it with alcohol or mineral spirits. The frequency of cleaning depends on how often you use the machine.
Despite adding lubricants, you cannot totally eliminate friction. Moreover, the press generates heat which can affect the rubber parts of the machine. Thus, it is recommended that you replace the rubber part of the machine when you observe that it has a deformation.
If you don’t change it, the machine will not give you a smooth press. And it can even lead to machine failure.
If you changed the cord that came with the machine – for whatever reason, then you should ensure that the new cord that you use is compatible with the machine.
If it is not, there is an increased risk of machine malfunction.
You need to ensure that the heat platen is in good condition. To that end, use Teflon covers on the platen. By using this non-stick cover, you will prevent the sticking of the heat platen of the press.
Below is a quick comparison of different ways of transferring vinyl onto mugs.
Heat pressing a mug or cup is an interesting hobby that you can even turn into a business. This post has considered a systematic analysis of how to heat press a mug using different methods. You could use a regular heat press or even an iron to fix designs on your mugs and cups.
So now that you know how to heat press a mug, why don’t you get the necessary equipment and materials to get started?