Stained glass has been around for centuries Trusted Source The 10 greatest stained-glass windows in the world - BBC The practice of staining glass for decorative purposes dates to ancient Rome, but the oldest examples in situ are from this Romanesque church in Augsburg, Germany, in the heart of Bavaria. www.bbc.com . In the past, a stained-glass window would be used to convey religious messages in churches. Worshippers could follow the story of pictures and when the light shone through the glass it could be an uplifting experience. But, now stained-glass is not limited to churches or other prominent buildings. Many people now install stained-glass designs in their homes as mosaics or windows. This can give a room a real feeling of nostalgia or an up-to-date Art Nouveau appeal that many people love. So, it’s not surprising that “how to cut stained-glass” is a popular question and answering this query will be the focus of our article.
Many people install stained-glass panels in their front doors or above the frame to create a design that lights up when the sun shines. This is also a popular feature in bathrooms where you need some privacy but you don’t want standard frosted glass. Another cool way to use stained-glass is to create a skylight to bring colored light into a room. When light shines through stained-glass it has an almost magical effect that adds a real touch of warmth and ambience.
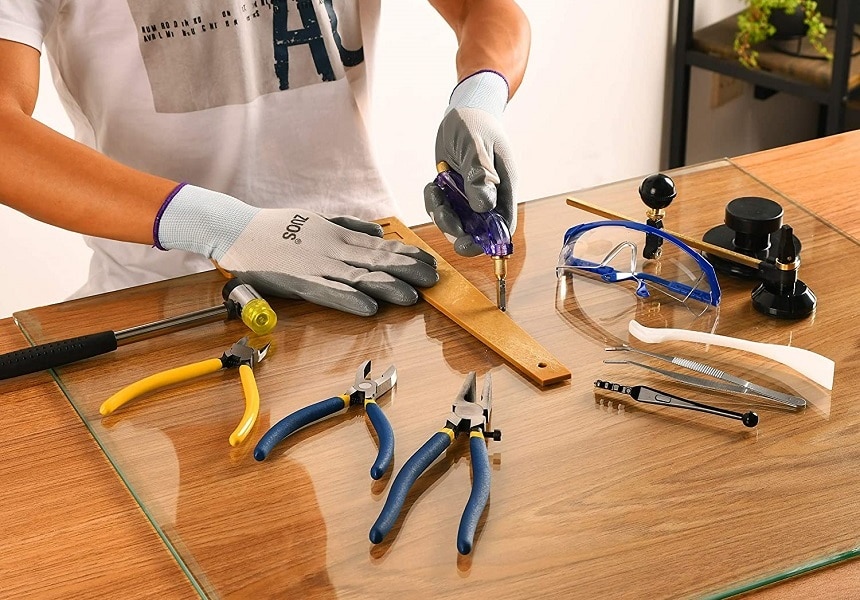
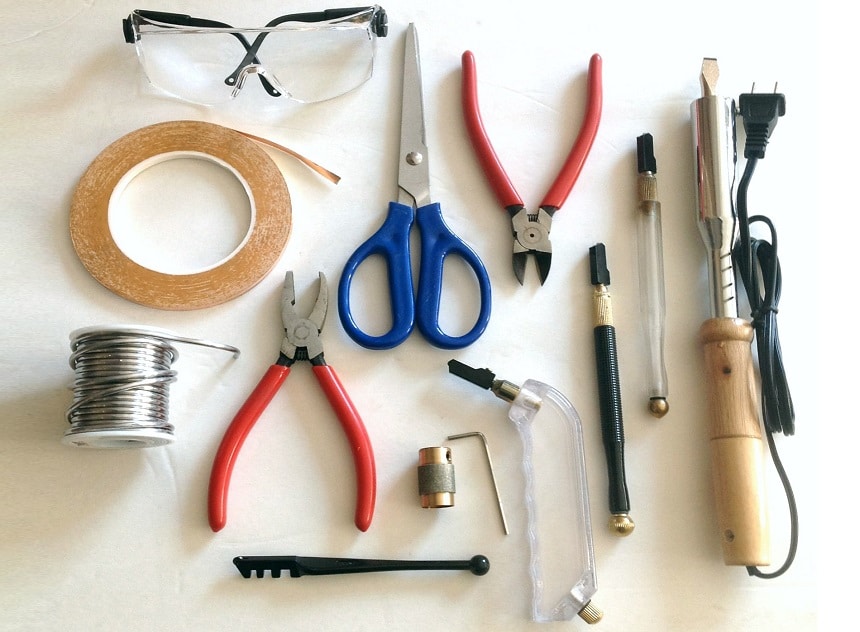
Cutting stained-glass can be tricky if you don’t have the right glass cutter and patience. If you invest in the best stained-glass kit that you can afford, a glass cutter may be included. However, there are many types of glass cutting tools and you may find that another type of cutter meets your needs better. This is a process, you may have to try a few different glass cutters until you find one that you really enjoy using regularly. Some people like a traditional style cutter that you hold like a pencil and others like cutters with a pistol style grip. Less expensive cutters can be used a few times until they lose their edge and need replacing. But, the best models have replaceable cutting edges.
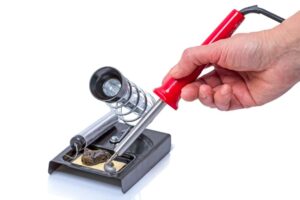
No matter which type of glass cutter you choose, you will need some cutting oil to make the process easier. When you cut glass you’re really making a break line that you want to break clean. Many modern glass cutters have a built-in oil reservoir for this purpose but they frequently leak and they tend to be messy. Many people that cut stained-glass regularly use a different method. If you fill a small container with cutting oil and a cotton ball you can lubricate your cutting edge easily. Simply coat the edge after every few cuts and you will notice that the process is much easier.
It’s a good idea to have a couple of pairs of pliers on hand to break the glass apart. Get a pair of running and grozing pliers for different tasks. Running pliers have a larger mouth and they are handy when you need to break large pieces of glass and get straighter lines. Grozing pliers are skinny in comparison, they are used to break smaller pieces of glass or to get curved cuts. When you use pliers keep them as close to the score line as possible and apply even pressure.
When you’re looking at the best stained glass kits, it’s exciting and you’re probably eager to get started cutting right away. But, it’s important to prepare the area where you’re going to work or you may not get the results you’re looking for. When you cut glass, it’s a good idea to work standing and this means you need a table set to waist height. Then you can cut glass without overworking your arm and you can use your body weight to exert force on the cutter.
The table surface needs to be flat and smooth to ensure that the glass isn’t damaged as you work. If you have a wooden table, you may want to place a large sheet of cardboard over it to protect the surface and stop the glass sliding around. Some people cut on a waffle grid, this is a good surface to cut on because you don’t need to clean shards of glass as you work. It’s important to clean the glass shards because they can create pressure on other pieces of glass leading to breaks. Glass shards are also the cause of cuts so keeping your area tidy is important if you want to avoid injuries. It’s a good idea to have a dedicated soft table broom and trash bin for glass clean up duties.
If you look at tutorials on how to cut stained glass shapes, the glass is always clean and pristine. In reality, you may have a piece of glass stored for a while before you use it and the surface can get dirty and greasy.
Before you start cutting, it’s a good idea to clean it with soap and water or your preferred glass cleaner. This will make the glass surface easier to mark with a sharpie and cutting will be far simpler.
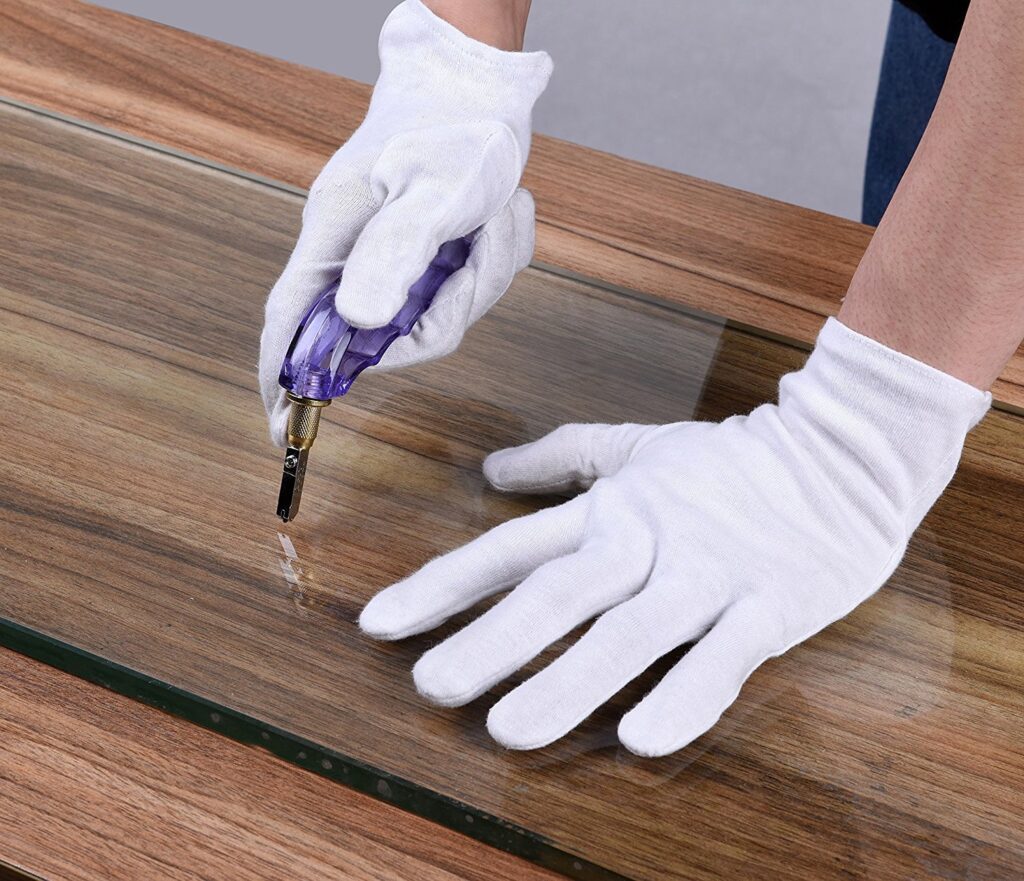
The simplest glass cutting technique is to cut a straight line, so it makes sense to start here. Start by scoring the glass by creating a slight cut or fissure into the surface. This can be a hard technique to master because you need even pressure along the entire length of the cut. This is easier if your glass cutter is lubricated with cutting oil because the wheel will not get clogged with binding and tiny shards of glass. When you score glass you don’t want to go deep enough to cause chips of glass to appear. Use a lighter touch, the glass should make a “zipping” noise as you cut. If you hesitate or linger in one area for too long the scoring will suffer so you need to score in a single fluid movement.
One you have a score line, it’s time to break the glass apart and there are a couple of techniques that you can use. Many cuts can be made using your hand to remove the glass if you have enough working space. Simply place your thumbs on both sides of your score line and apply gentle leverage. The glass will start to bend and eventually give, to split apart into two sections. If your score line is near an edge you may not have enough space to hold onto the glass and create pressure. This is where a pair of running or glass pliers is useful because they have curved jaws and a rubber coating to protect the glass. Just use the pliers like you would use your hands to apply sufficient leverage to break the glass along the score line.
There are many other tool and/or hand positions that you can learn and apply as your glass cutting skills improve. A full tutorial is beyond the scope of this article, but the main thing to remember is that you always need a good score line. If you can’t get the break that you need, the glass may be too thick or more pressure may be required to get the break moving. You can use the cutter ball to gently tap the other side of the score line and follow it to create a break. This can then be followed up with the same hand and running pliers methods shown above. If the score line is intermittent or weak, you may be tempted to attempt a second break on the same line. This isn’t likely to work, it’s a better idea to create a new score line on the opposite side of the glass. This may not be enough to create a break but it has a better chance of success than scoring the same line twice.
As you might imagine, cutting curves in glass is more complicated than straight lines. When people want to learn how to cut stained glass for mosaics they often want curves that fit together. Start by cutting the glass to a size you can work with easily and place it on your cutting table surface. Mark out your lines using a sharpie marker and coat the cutting wheel with some oil. Then hold a steel rule or framing square on the line and use firm pressure to pull your glass cutter along the edge. When you hear a crackling noise you know you have enough pressure. You will only get a single pass, you cannot retrace the line because the glass will shatter.
Once you have a smaller piece of glass you can start to make your curves using a sharpie marker. Trace out your patterns on kraft paper first, secure them to the glass with masking tape and mark the pattern.
When you cut curves, you don’t have the security of a straight edge to follow. Work methodically, but make steady progress and if you have a steady hand that will help. After you score the curve, you can flip the glass over and give the line a tap to create a crack. As the pieces of glass pull away you can discard them carefully and move on to the next section.
Learning how to cut stained glass patterns is hard, but you can make the process easier if you follow these nine helpful tips:
Many people spend a great deal of time finding the best soldering irons for stained glass or the best glass cutter but they ignore their lighting. Like many detailed orientated tasks you probably won’t realize how much difference good lighting makes until you have it. Even if you have good general lighting in your workshop or hobby space it may not be sufficient. If you’re leaning over the glass on the table and the light is behind you the shadows could be distracting. This situation can be improved with a work light for your table and even a simple desk lamp will work wonders.
We mentioned this earlier but it’s very important to get a glass cutter that’s comfortable in your hand. There are many makes and models of glass cutters available to purchase and you’re sure to find one that meets your needs. If you want to cut glass and you have a condition that affects your grip, such as: arthritis, carpal tunnel or others, you need to consider your choices carefully.
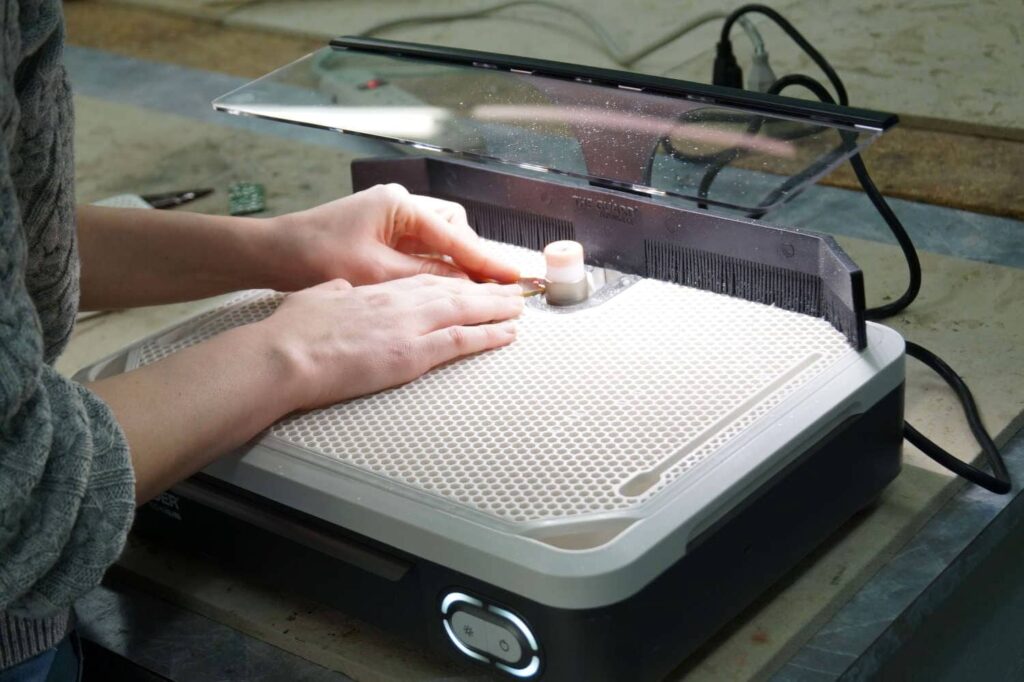
If you’re lucky enough to have a glass studio nearby you can always visit and ask for some advice. They may even let you try out a few glass cutters to see how they feel in your hands. This is also a great way to develop contacts to get glass or get other glass related work done. If you don’t want to invest in the best stained-glass grinder that you can afford, a glass studio can help.
There are many pieces of wonderfully colored glass to use, but you need to consider the texture of the glass too. If the glass is heavily textured it will be harder to cut but there may be a smoother side that you can score. A smoother side will stop the cutter bouncing around when you’re trying to create a score in the glass surface. Another good reason to do this is to have the textured side facing out when your project is finished.
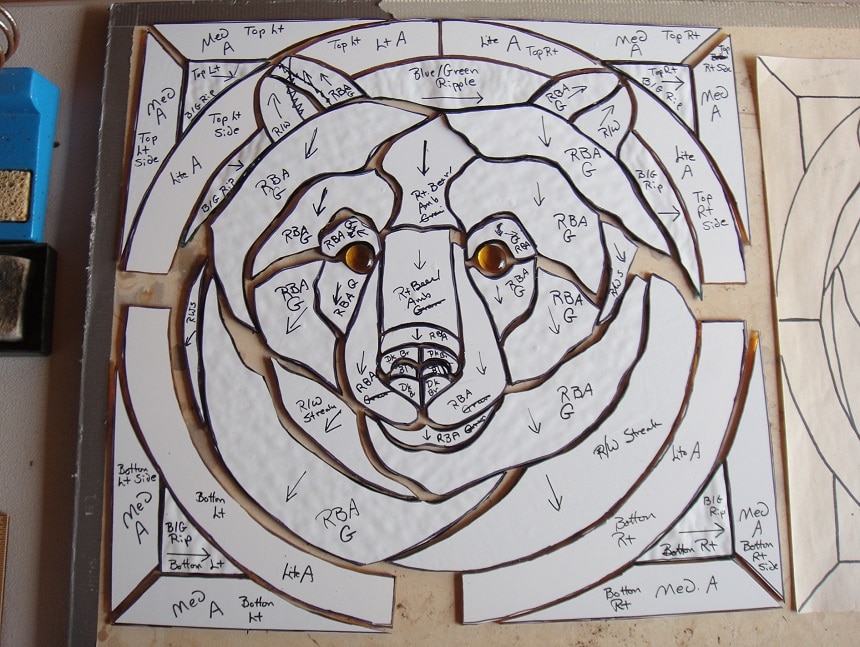
When your cutting skills have developed you may want to tackle more complex projects and use elaborate patterns of your own. But, the best cutting skills and tools will not help if you don’t have an accurate pattern to follow. Always trace your patterns onto paper, cut them out carefully and use masking tape to place them on the clean glass. This will give you the best chance at cutting your stained-glass to your exact specifications.
As we mentioned earlier, a glass cutter may have a cover that unscrews to reveal an oil reservoir to hold cutting oil. You need cutting oil to make the cutting wheel move easily across the surface of the glass when scoring. But, the cutting tool reservoir can be problematic because oil leaks out and this can affect your grip. The last thing you want when cutting glass is oil on your fingers and the surface of the glass. Oil on the glass will also prevent the copper foil from sticking and it will be harder to use your pliers. Using the trick with the cotton ball soaked in cutting oil will solve this problem. If you want to ensure that you don’t have any excess oil on the carbide blade you can run it on the palm of your hand before cutting.
There is no easy answer to this question, some people push the cutter and others pull it to create the score. The best advice we can offer is to try both styles out on a piece of spare glass to see which suits you better. Many professional glass cutters prefer to push the cutter away from their body because they can judge the applied pressure before moving the blade. Extending your arm is more natural and you can observe the tip of the cutting wheel and use that as a guide. The most important aspect of glass cutting is that you are comfortable at all times and if you find something that works for you stick with it.
The glass cutter needs to be held perpendicular to the glass to create a perfect score. If the cutter moves on an angle to the left or right as you cut you could break the score. The glass break will start to follow that angle and this means that the front and rear of the glass will have different sizes. When the glass breaks it could be on an angle and this will create a lot of work when it comes to grinding later. If you want accurate glass pieces to fit into a complex design it’s important to watch the angle of your cutter.
Or at least it will try to under normal conditions and you can use this to your advantage. If you attempt to force a break to follow a curve with the score, it’s unlikely that you will get the ideal break. It’s often a better idea to make more scores and breaks with a shallow curve if you want to create a sharp curve. When you get used to how glass breaks you will be able to avoid creating a break in the wrong location.
It takes time to develop a new skill and if you want to get really good at something it can take a while. This is very true when you’re learning how to cut glass or stained-glass for a home project or to start a craft business. So, you need to be patient, getting the right tools will help, but practice is also important. You don’t want to spend money on expensive pieces of glass to practice so keep an eye out for deals.
If you have glass left over from a project set it aside for practice and you will notice that your skills improve. The cheapest glass to buy is basic window glass and this is ideal to learn basic glass cutting techniques. You may be able to get free glass from remodelling projects where old windows are discarded. Even window retailers get rid of old glass that they don’t need and they may be happy to give it to you gratis.
As you can see, there are a number of reasons to choose stained-glass for your home. The colors create a wonderful ambience and period feel that would be difficult to achieve with other materials. Cutting stained-glass can be tricky, but it will be useful if you want to develop your hobby further or start a business. Cutting the glass in only part of the equation, you will also need the best stained glass grinder to smooth the edges. This will make the glass easier to work with and produce a higher quality finish. Then when you want to place different sections together you will need a good soldering iron for stained glass. This will allow you to create elaborate mosaics for your windows and other projects in your home. Learning how to cut stained-glass takes time and practice but it’s rewarding and a great way to express your creativity.